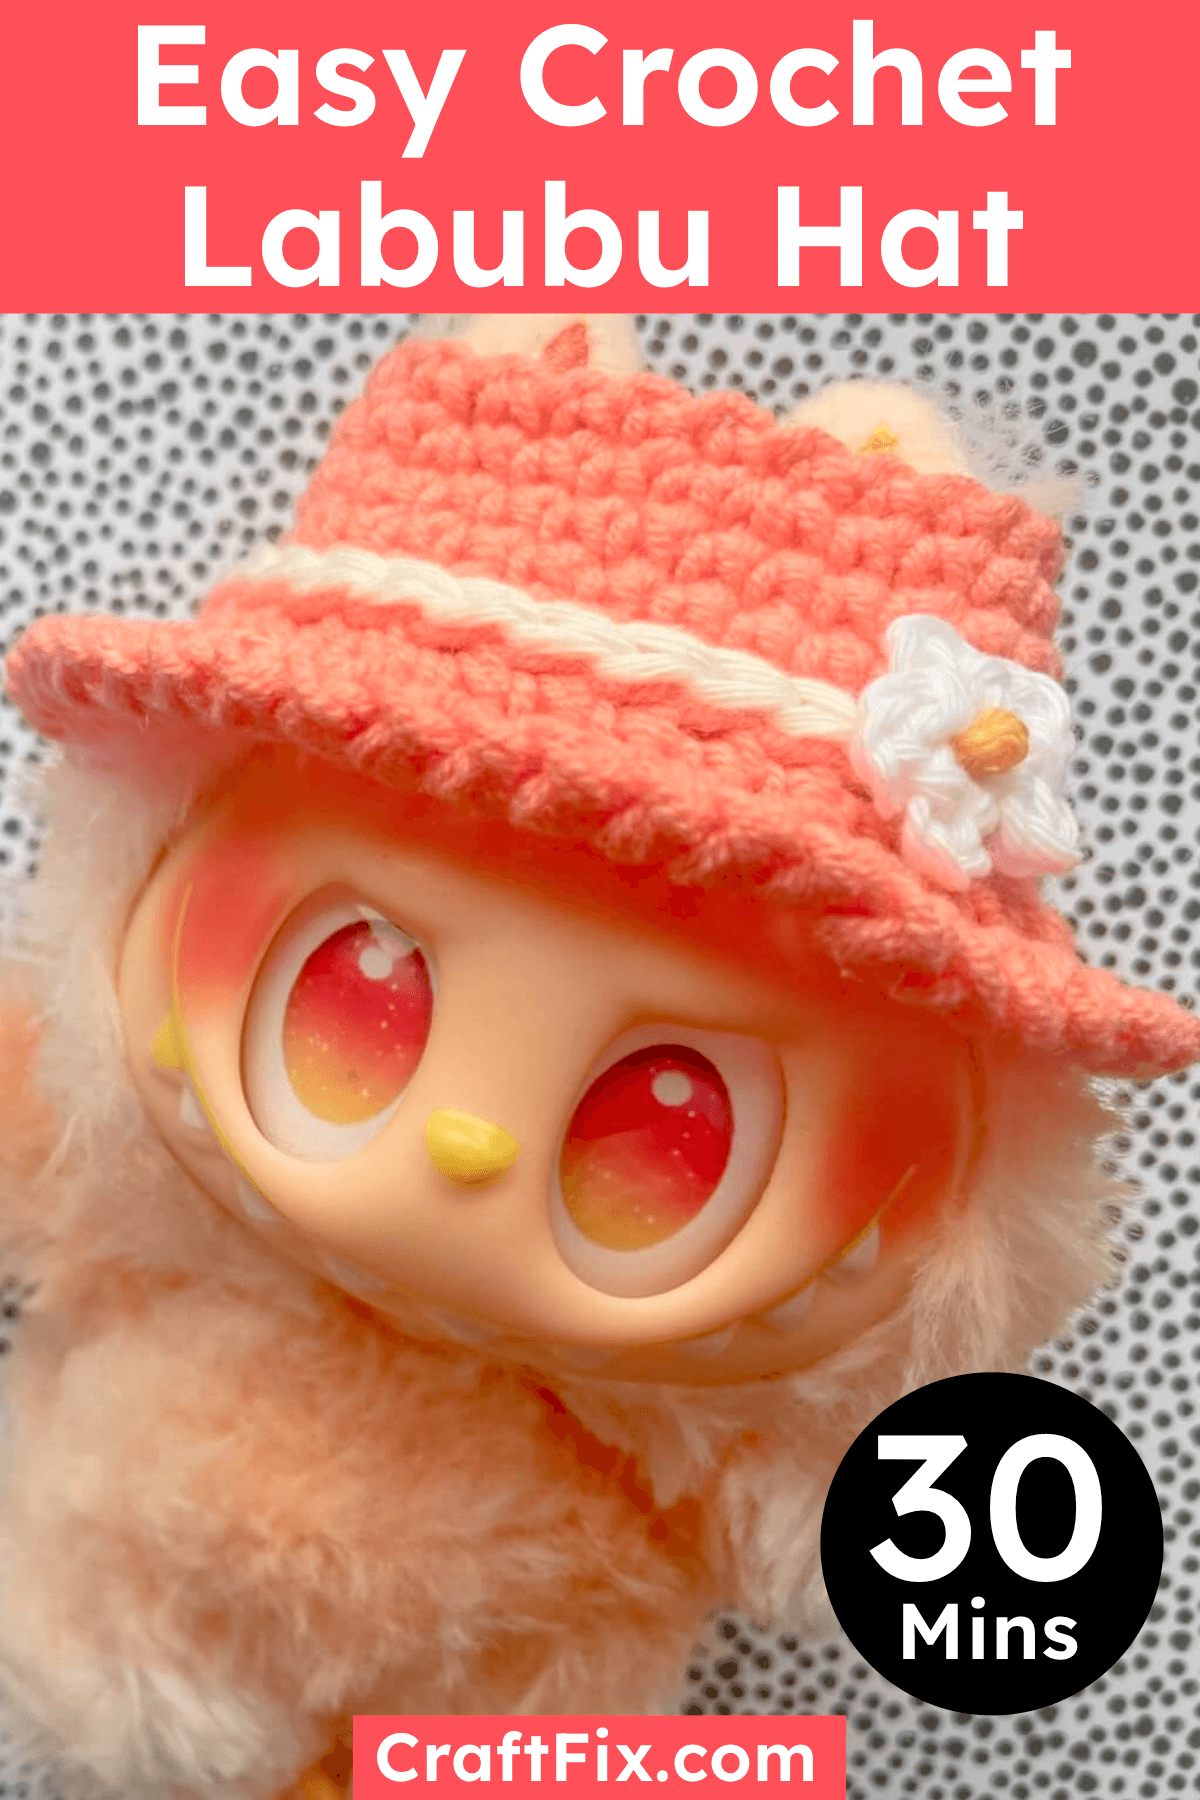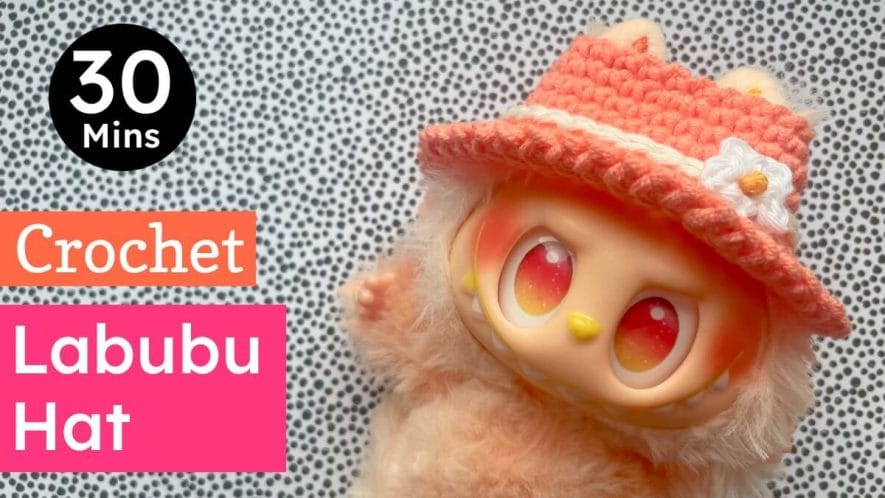
Crochet a cute hat for your Labubu or Lafufu doll with this free quick & easy pattern, perfect for using up yarn scraps.
🎃 New for Halloween: Crochet a witches hat for your Labubu!
Table of Contents
What you Need
- 3.5mm (size E) crochet hook
- 20m / 22 yds approx of sport or light DK yarn, with optional scrap in contrast colour for band above brim.
- Optional: 3mm (size D) hook with small scraps of 4 ply or sport yarn for flower.
- Tapestry needle for weaving in ends.
Hat is approx 8cm / 3.25 inches wide above brim (after round 5) when folded flat. Exact gauge is not important but yarn with a bit of natural elasticity (acrylic, wool etc) works best for a good fit.
You could also use thicker DK, worsted or even aran yarn with a 4mm hook. Your hat will be a bit bigger and heavier, but still cute 🙂 It’s best to use finer yarn for the flower if possible though.
I used Scheepjes Softfun a light DK cotton/acrylic mix in shade 2636 soft coral,
with scraps of Scheepjes Cahlista worsted/aran cotton in shade 130 old lace for the band
and Rico Ricorumi DK cotton (actually quite fine like 4 ply!) in white & 26 tangerine (or 6 yellow) for the flower.
Abbreviations
NB this pattern uses US crochet terms. The equivalent UK crochet stitches are listed in the abbreviation list to help you convert the pattern.
- R – round
- yoh – yarn over/around hook
- st – stitch(es)
- ch – chain
- sl st – slip stitch
- sc – single crochet stitch (UK: double crochet)
- sc x N – do a single crochet in the next N stitches (UK: double crochet in next N stitches)
- Xsc – do X single crochet stitches in the next stitch e.g. 3sc means do 3 single crochet in the same stitch (UK: do X double crochet in the same stitch)
- BLO – back loop only – work in just the back loop of the stitch instead of under both loops as usual.
- () x n times – repeat the instructions inside () n times
Labubu Crochet Bucket Hat Pattern
Total time approx: 30 minutes
Step 1: Crochet Top of Hat

Ch 24 and sl st in 1st ch to join to make a ring. [24 st]
R1: Ch 1, sc in each st, sl st in 1st sc to join. [24 st]
R2: Ch 1, (2sc, sc x 3) x 6 times, sl st in 1st sc to join. [30 st]
R3-5: Ch 1, sc in each st, sl st in 1st sc to join. [30 st]
Try the hat on the labubu now if possible to check it fits before you do the rest!
Step 2: Crochet Brim of Hat

From now on, stagger the increases by starting them after the 1st few stitches on the even rounds, to make the brim nice and round.
Work the next round in the back loop only to make a nice line to mark where the brim starts:
R6: Working in BLO, ch 1, sc x 2, (2sc, sc x 4) x 5 times, 2sc, sc x 2, sl st in 1st sc [36 st]
R7: Ch 1, (2sc, sc x 5) x 6 times, sl st in 1st sc [42 st]
R8: Ch 1, sc x 3, (2sc, sc x 6) x 5 times, 2sc, sc x 3, sl st in 1st sc [48 st]
Step 3: Add Fancy Edge

Fasten off now if you like, or do a final round to give your brim a fancy trim:
R9: (Ch 1, sl st in sc) x 48 times. Your last sl st will be beside the 1st ch 1.
I’ve a step by step video tutorial showing how to do this raised edge border here.
Fasten off & weave in both yarn ends.
Step 4: Add Hat Band
It’s easy to add a hat band above the brim using surface crochet. If you’ve never done this before, here’s a good 3 min video tutorial.
Using a contrast colour yarn, with your working yarn coming from under your hat (on the wrong side), yoh and pull a loop through to the right side at the back seam of your hat, just above the brim line made in R6 by working in BLO.
Now put your hook through the hole after the 1st sc st, yoh under your hat and pull your hook back through to the right side, coming through the loop on the front to make a chain shape.
Repeat this all the way around, putting your hook through the gap after the next sc, yoh underneath your hat & pull through the loop on the right side to embroider chain stitches all the way around your hat.
Once you’re back at the starting point, fasten off & weave in the 2 ends on the inside of the hat.
Step 5: Crochet a Flower
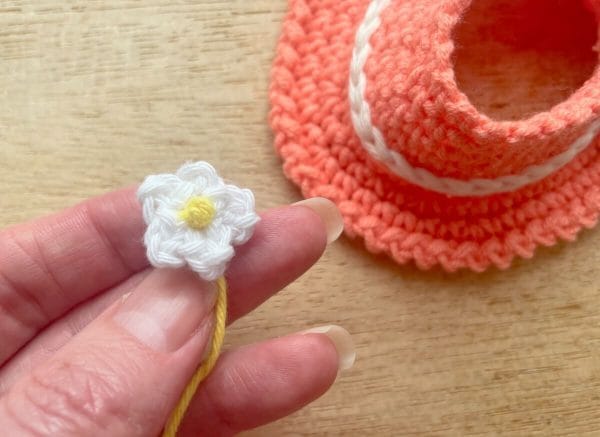
For max cuteness, make a mini flower (or a whole bunch) to decorate your hat band. It’s best to use fine yarn with a 3mm hook (or smaller) for this part, so the flower looks delicate & not too big.
Starting with a magic ring (video tutorial), ch 2 (in addition to the ch you made to secure the magic ring, so 3 ch in total) & sl st into the ring. This makes 1 petal.
(Ch 3, sl st into ring) x 4 times, so you have a total of 5 petals.
Pull your magic ring closed & fasten off.
Finally, make a French knot for the centre of the flower. Watch 2 mins of my friendly ghost pattern video tutorial from this 15:52 timestamp to see how to make French knots.
Thread a tapestry needle with a contrast colour yarn for the centre of the flower.
Bring your needle up through the centre of the magic ring from back to front.
Wrap the yarn around the needle 3 times and push the needle back down through the same point in the middle of the flower.
Pull both yarn ends at the back to leave a neat knot bump on the front for the flower centre.
Attach the flower to the hat band by threading each yarn end with a tapestry needle, making a small stitch or 2 through the hat band and weaving in on the inside of the hat.
🎃 New for Halloween: Crochet a witches hat for your Labubu!
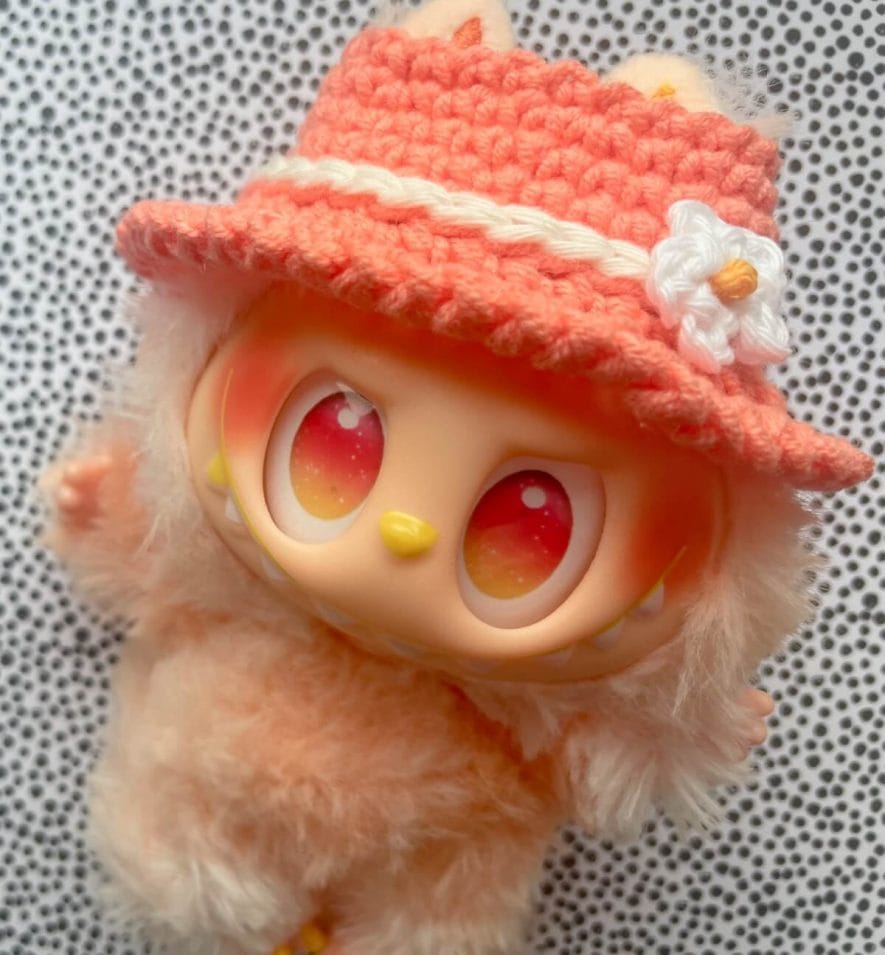
I hope you enjoy crocheting some cute hats for your lovely Labubu and Lafufu friends and find this pattern easy to follow. Got any questions or feedback? Please leave a comment below.
This free pattern is for personal, non-commercial use only. It may not be copied, sold, translated or distributed in any way. This pattern is not associated with Pop Mart in any way. I just love Labubus 🙂