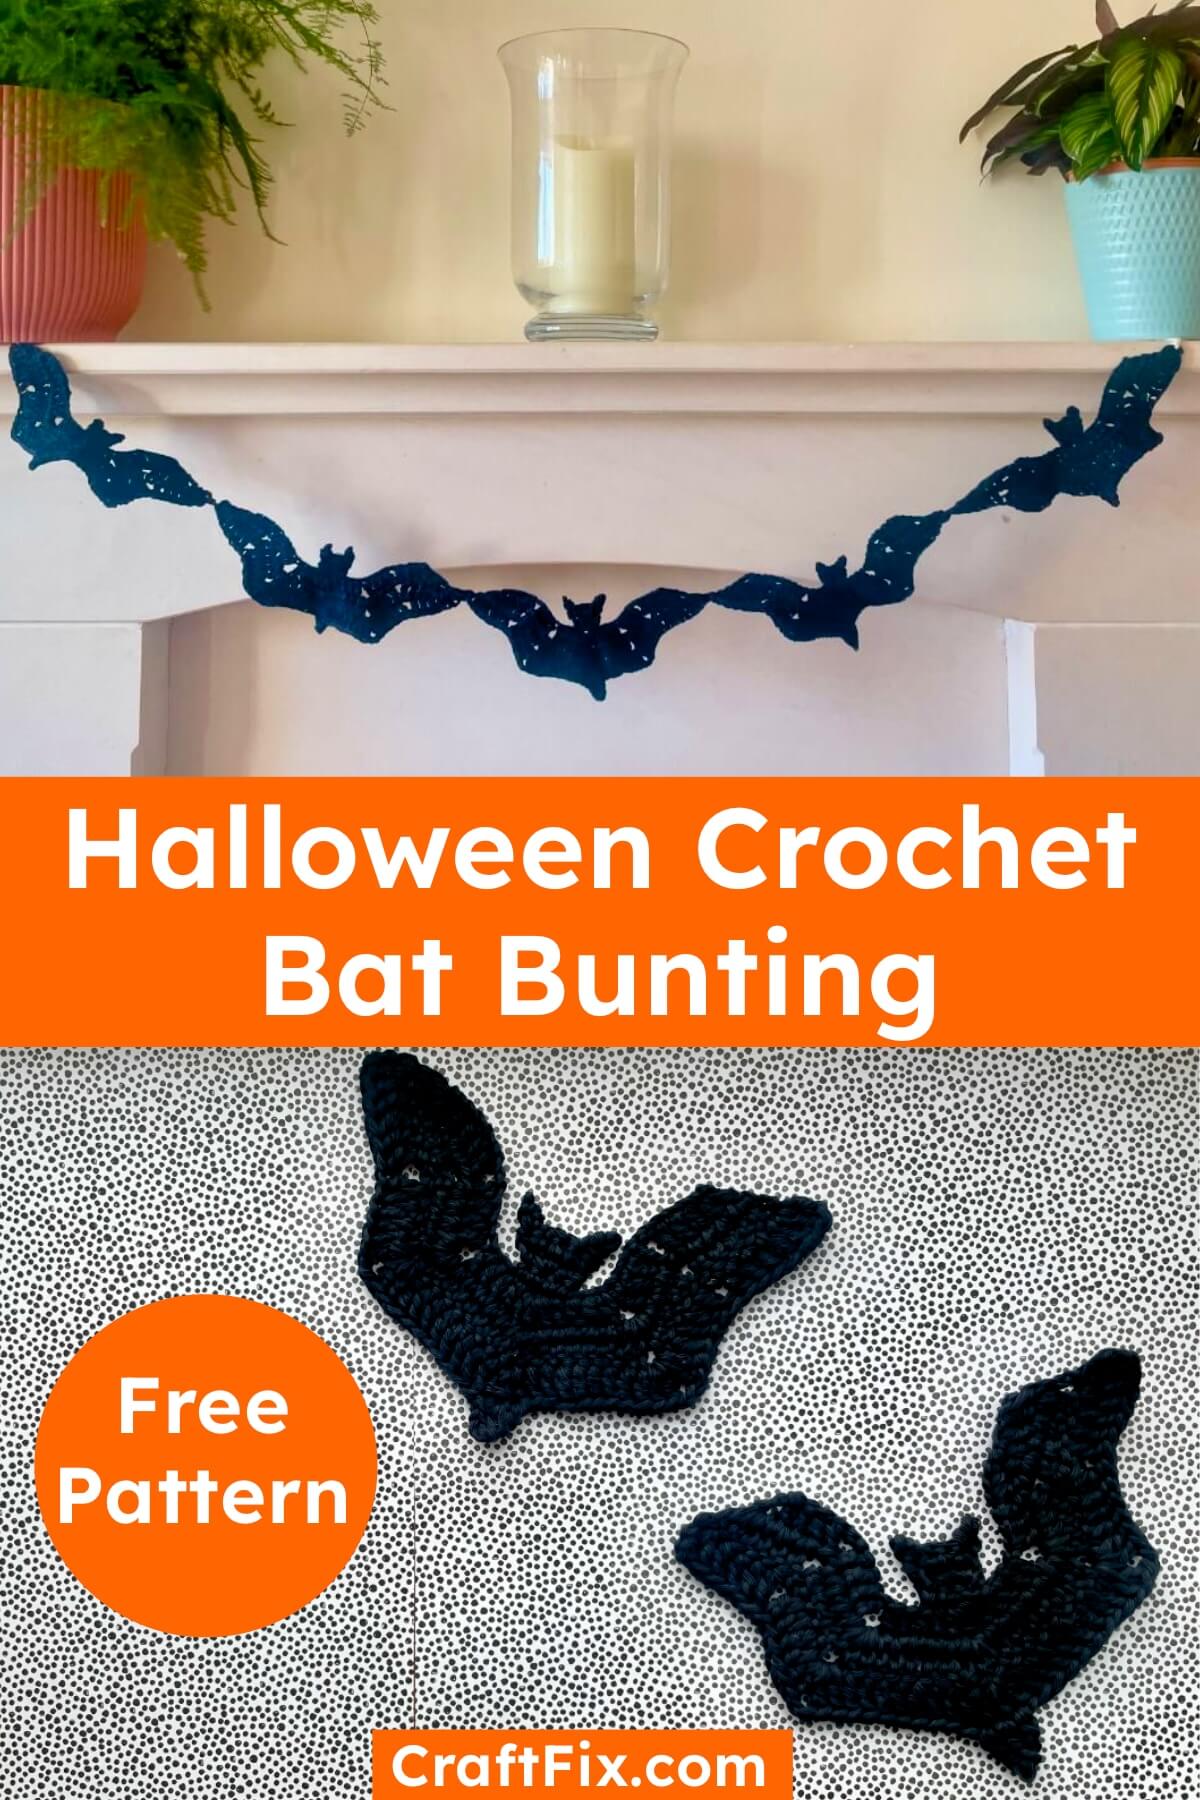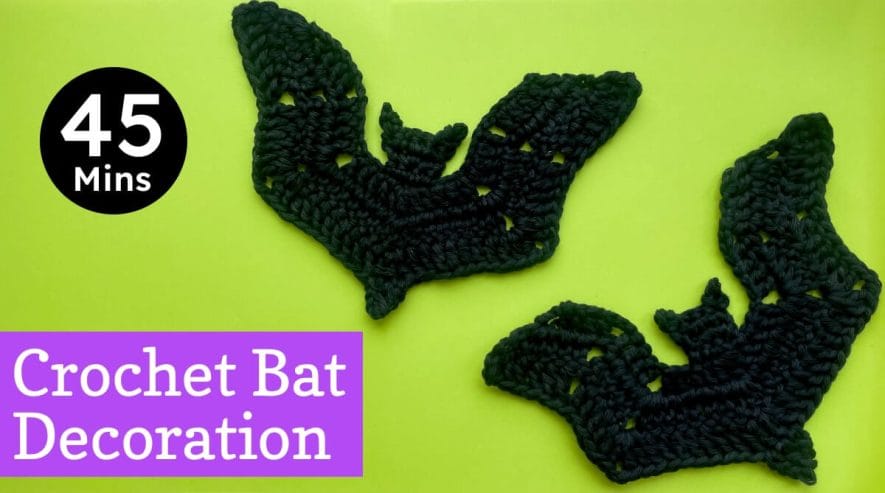
Make cool bat decorations for Halloween with this free quick & easy crochet pattern. Whether you want hanging bat decorations or to attach crochet bat appliqués to another project, this pattern works a treat.
Great for using up yarn scraps, you just need a small amount of black yarn to make a striking bat silhouette motif. Got more time? Join a bunch together to make bat bunting!
This motif is part of my Halloween garland crochet patterns. You can also crochet pumpkin faces, spider webs, ghosts and a halloween cat face.
Table of Contents
Materials & Notes
- 15m / 17 yds approx of Black DK or light worsted yarn. I used Rico creative cotton aran which I find equivalent to DK for this.
- 3.5mm crochet hook – I use Addi swing hooks
- Tapestry needle for weaving in ends
- Optional: fabric stiffener. I used Beacon Stiffen Stuff
Finished size: 16.5 cm wide by 11 cm tall (6.5 inches x 4.5 inches) approx.
Gauge is not important here so you can use any weight yarn. Your bat will just be a slightly different size. Make sure you change the hook size too. I suggest using a hook a bit smaller than the standard size stated to make a dense fabric so the bat is more sturdy and less floppy.
Abbreviations
NB this pattern uses US crochet terms. The equivalent UK crochet stitches are listed after each term.
- R – row
- yoh – yarn over/around hook
- RS – right side facing, WS – wrong side facing
- st – stitch(es)
- ch – chain, ch sp – chain space
- tch – turning chain – the 3rd chain of 3 that counts as 1st dc
- sl st – slip stitch
- sc – single crochet stitch (UK: double crochet)
- hdc – half double crochet stitch (UK: half treble crochet)
- dc – double crochet stitch (US: treble crochet)
- dc2tog – double crochet 2 stitches together to reduce to 1 stitch (UK: treble crochet 2 together)
dc2tog is only used once for the optional bottom point & is explained then - sk N – skip the next N stitches
Instructions shorthand used, with dc used as example stitch: - dc x N – do a double crochet in the next N stitches (UK: treble crochet in next N stitches)
- Xdc – do X double crochet stitches in the next stitch e.g. 3dc means do 3 double crochet in the same stitch (UK: do X treble crochet in the same stitch)
- () x N times – repeat the instructions between () N times
- () in ch sp – do all the instructions between () in the chain space
Crochet Bat Pattern
Crochet Bat Appliqué Pattern (or make several for Halloween Bat Bunting)
Total Time: 45 minutes
Top of Bat Wings
I recommend just crocheting into the top loop of each chain, as it’s much quicker and black yarn makes you blind as a bat!
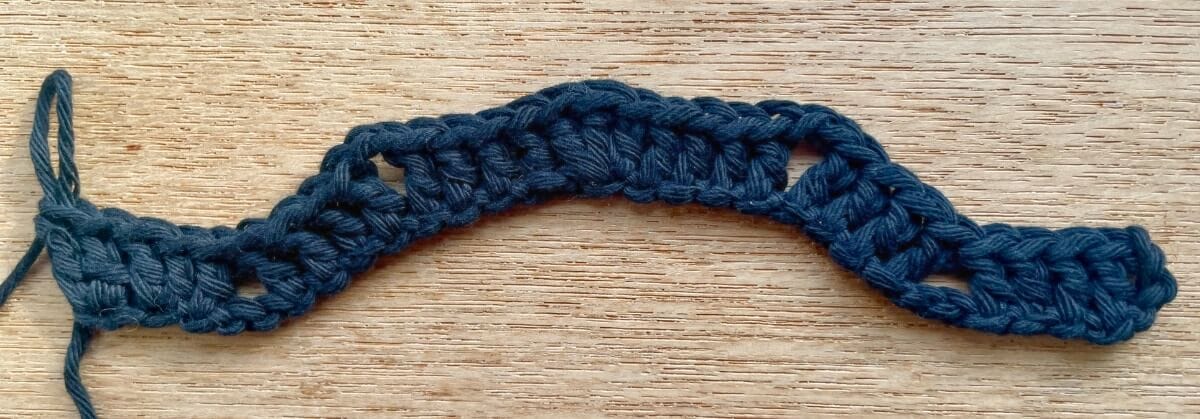
Each row looks long, but if you’ve ever done ripples or chevrons this is the same idea. In between runs of double crochet, you alternate between skipping 2 stitches and chaining 2 to make a wavy shape for the wings.
The wings are symmetrical, so after you make 3dc in the centre chain, you just repeat each previous step working backwards so that each wing is the same working out from the centre.
Ch 32
R1 (RS): sk 3 [counts as 1st dc], dc x 4, sk 2, dc x 4, ch 2, dc x 4,
3dc in next ch [this is the centre stitch, you could mark the 2nd dc as the midpoint],
dc x 4, ch 2, dc x 4, sk 2, dc x 3, 2dc in last ch.
Rest of Bat Wings
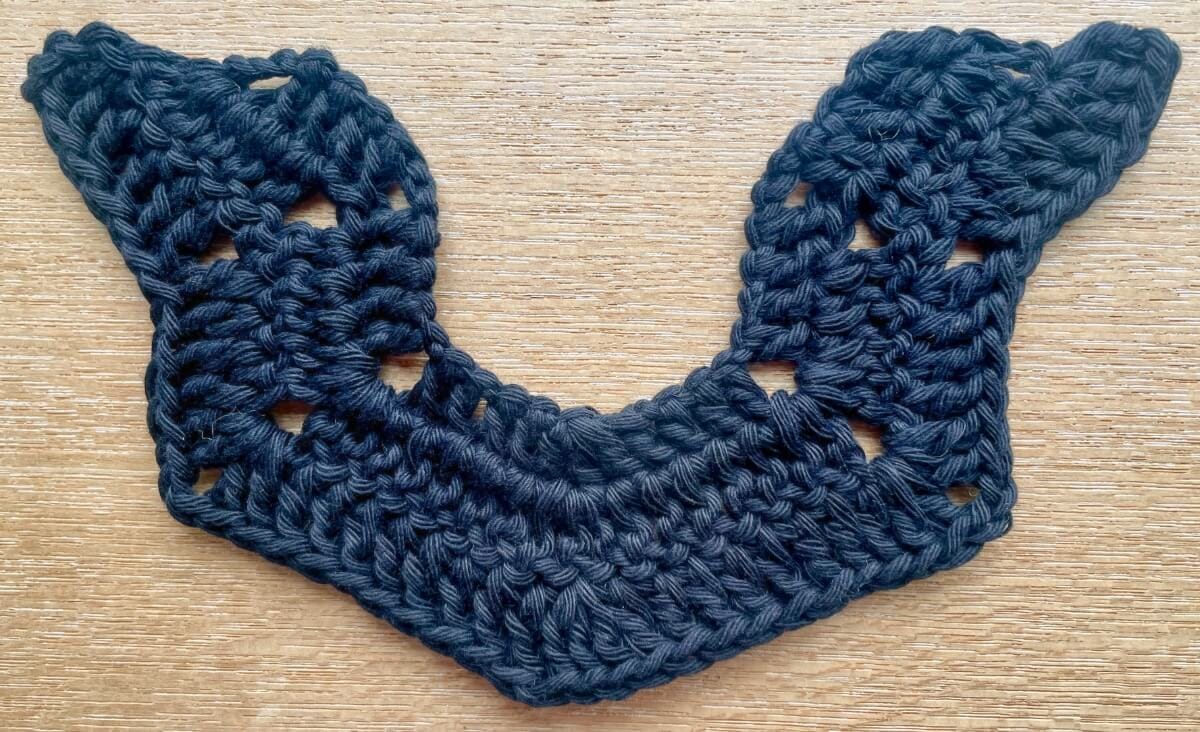
The next 2 rows add increases to shape the wings. The instructions look a lot, but each row is symmetrical. I’ve put the central stitch on its own line below, so you can see how the instructions above and below are the same working out from the centre.
R2 (WS): Ch 3 [counts as a dc], 2dc in 1st st, dc x 3, sk 2, dc x 3, (2dc, ch 2, 2dc) in ch sp, dc x 5,
3dc in central stitch [mark 2nd as midpoint if you like],
dc x 5, (2dc, ch 2, 2dc) in ch sp, dc x 3, sk 2, dc x 3, 3dc in tch.
R3 (RS): Ch 3, 2dc in 1st st, dc x 4, sk 2, dc x 4, (2dc, ch 2, 2dc) in ch sp, dc x 8,
3dc in central stitch [mark 2nd as midpoint if you like],
dc x 8, (2dc, ch 2, 2dc) in ch sp, dc x 4, sk 2, dc x 4, 3dc in tch.
Fasten off & weave in the 2 yarn ends.
Add the Bat Head
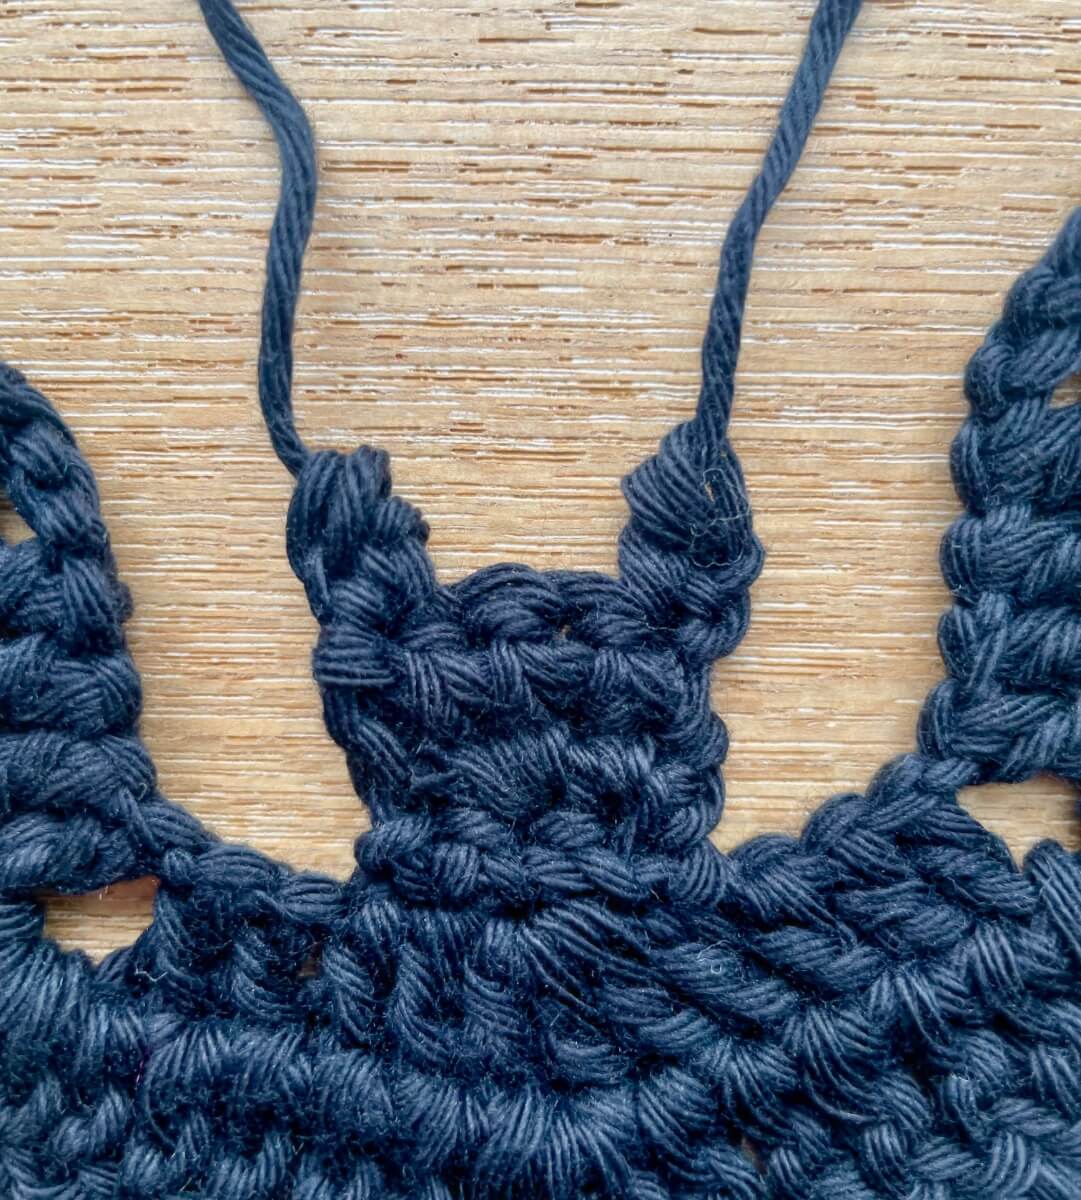
Next, crochet a head onto the main bat shape. Start by working into 3 central loops along the top, left from crocheting into the chains in R1:
With RS facing, there’s 9 chain loops across the top centre. Put your hook under the 4th loop from the right (or 1 right of the central stitch).
R1 (RS): Ch 1, sc in the same loop, sc in next 2 loops [3 st]
R2 (WS): Ch 1, sc, 2sc, sc [4 st]
R3 (RS): Ch 1, sc x 4 [4 st]
R4 (WS): Ch 1, hdc in 1st sc. Fasten off with a knot. This makes the left ear.
Turn (RS): Repeat R4 to make the right ear: Put your hook into the 1st sc & pull the yarn through. Ch 1, hdc in 1st sc & fasten off with a knot.
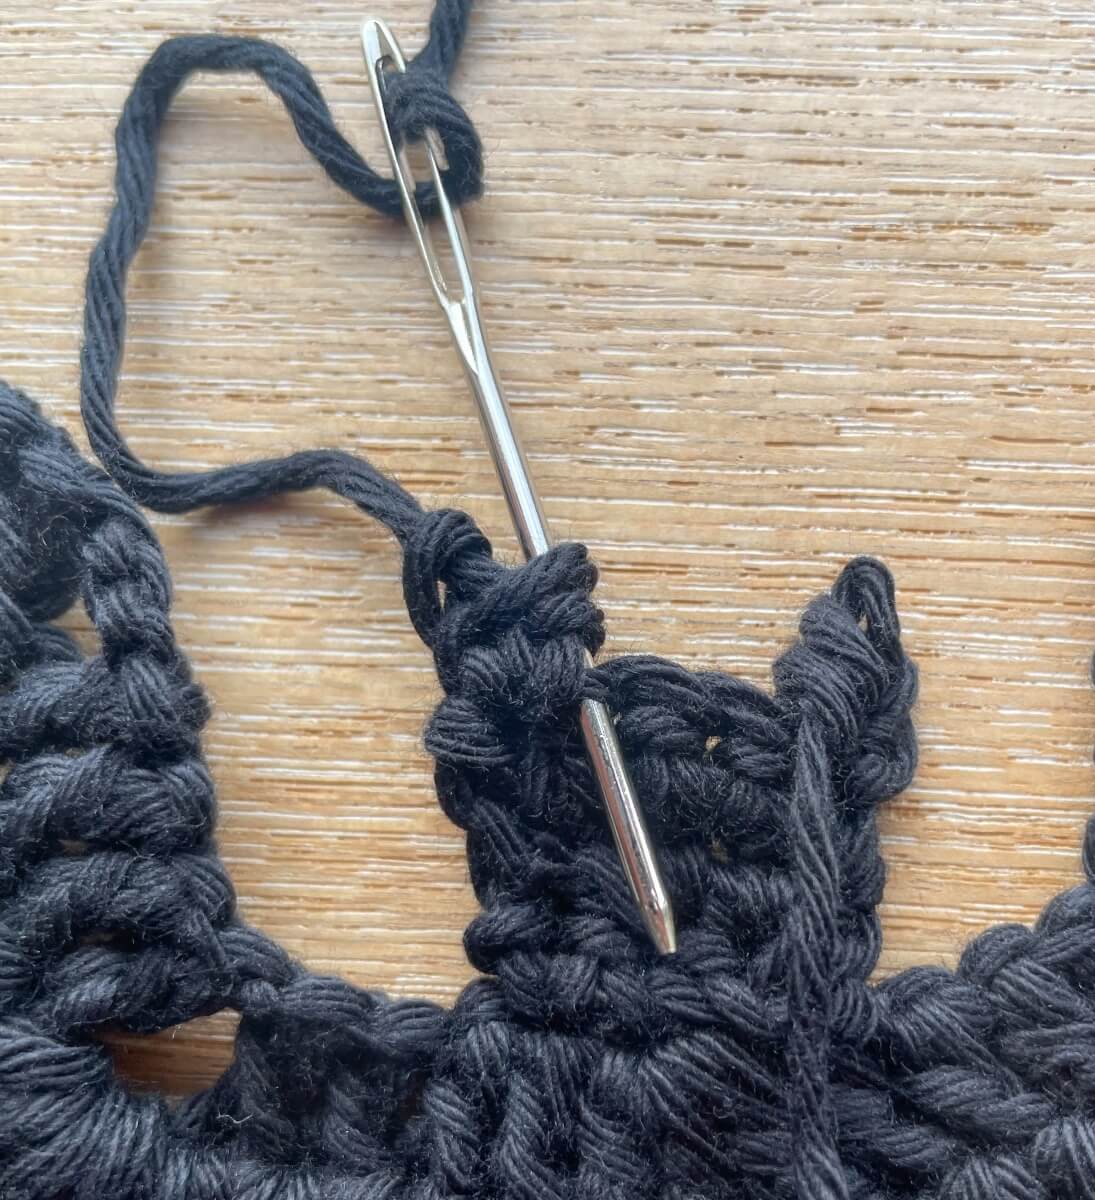
Weave both ear ends down the inner edge of the ears & pinch them to give them a nice pointed ear shape. Weave other ends into the head.
Add Bottom Point (optional)
I like to add a pointy bit at the bottom as it gives me iconic batman logo vibes!
With RS facing, turn your bat upside down so the bottom is at the top.
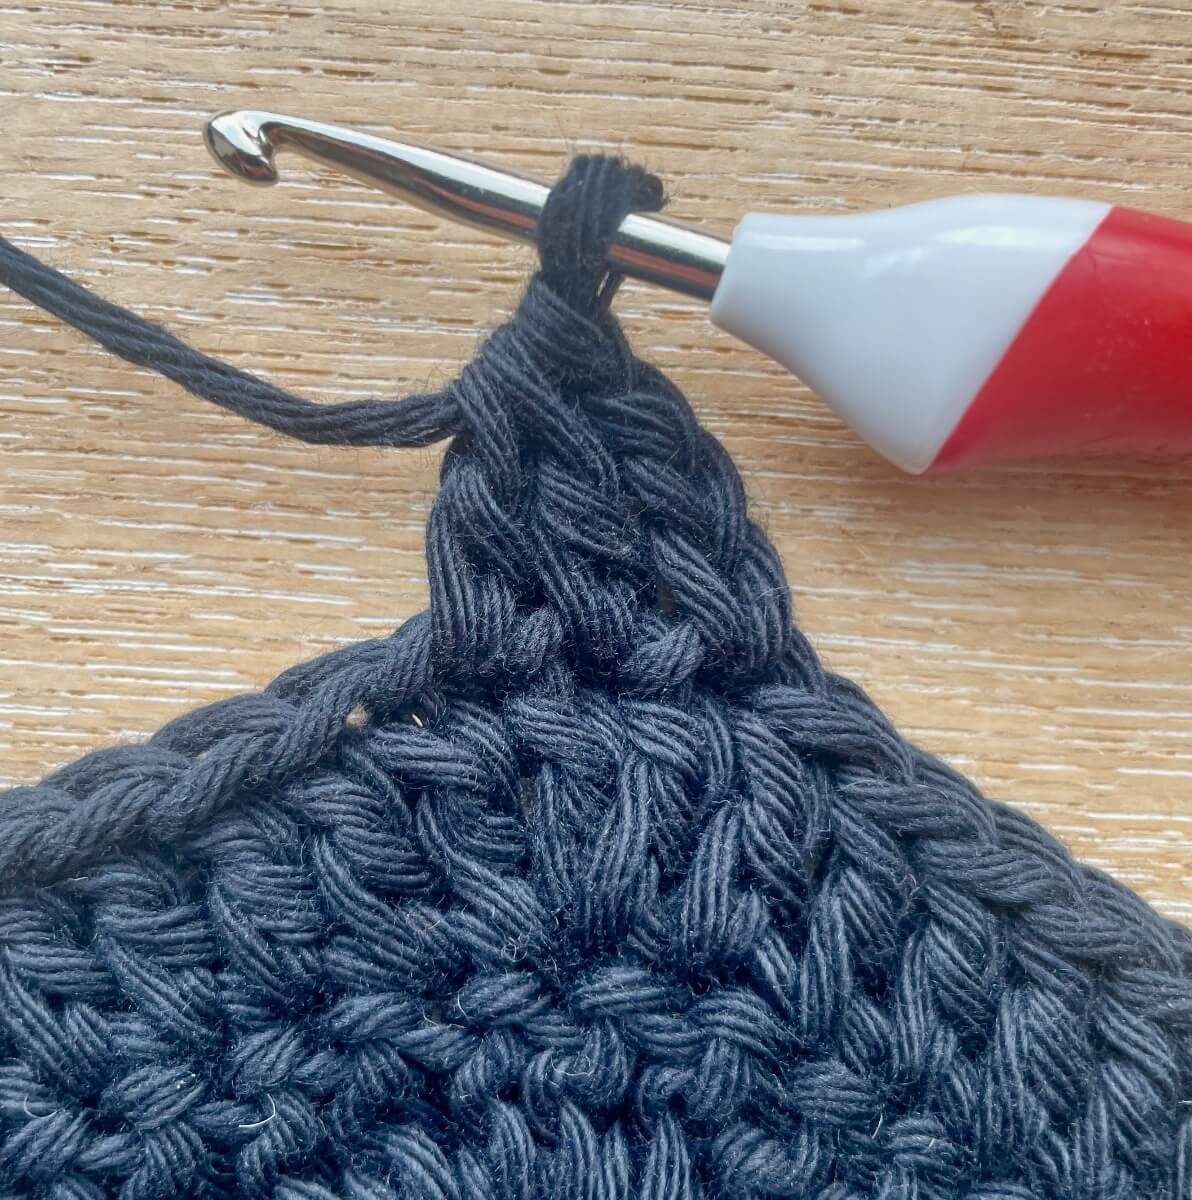
Find the 3dc at the centre point. Put your hook into the 1st dc (1 right of centre) & pull the yarn through.
Ch 3, then dc2tog the other 2 central dc. There’s a few ways to dc2tog. I did it as follows: (yoh, hook in next st, yoh & pull through) x 2 times. There’s now 5 loops on hook. (yoh & pull through 3 loops) x 2 times.
Fasten off & weave ends in.
Finishing (optional)
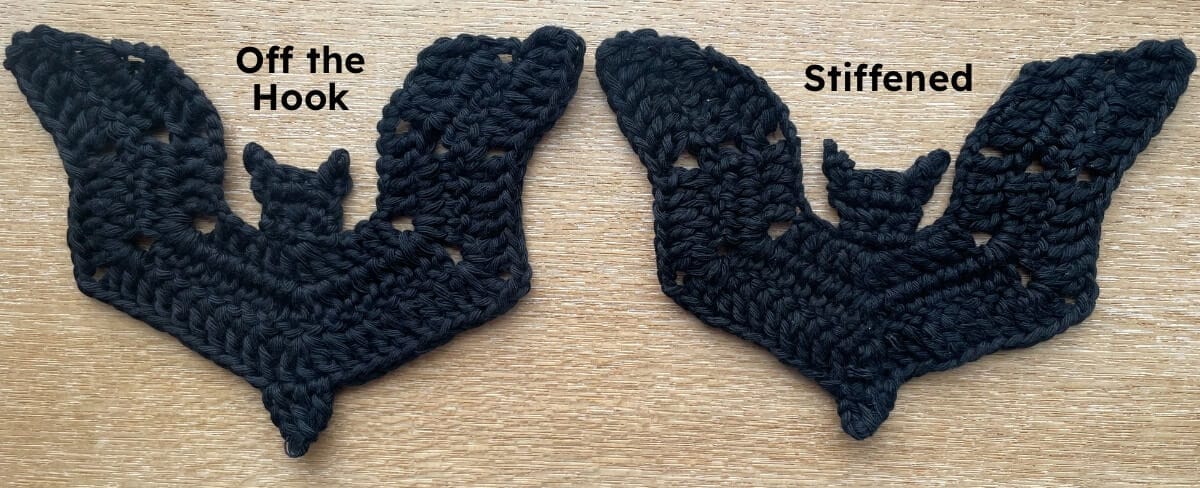
Your bat should have a bit of body and not curl up straight off the hook. I like how the wings have a bit of movement – just like flying bats!
You can make your bat more flat and rigid using stiffener if you prefer. I soaked mine in Beacon Stiffen Stuff & laid it flat on tin foil or a plastic bag to dry.
Tip: if you’re going to join several bats together to make a garland, it’s easier to poke through the edges to join them before you stiffen them. So either don’t stiffen the far edge points or stiffen the garland at the end instead of each bat.
Crochet Bat Bunting
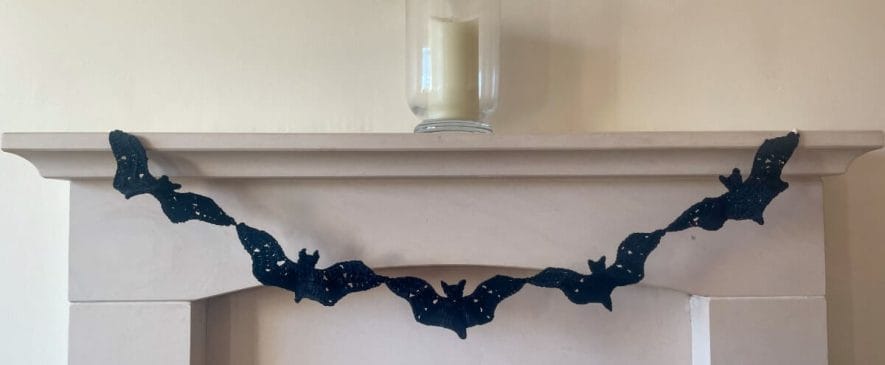
If you make a bunch of bats you can easily crochet or stitch them together to make a hanging bat garland for Halloween.
How to Join 2 Bats with Crochet
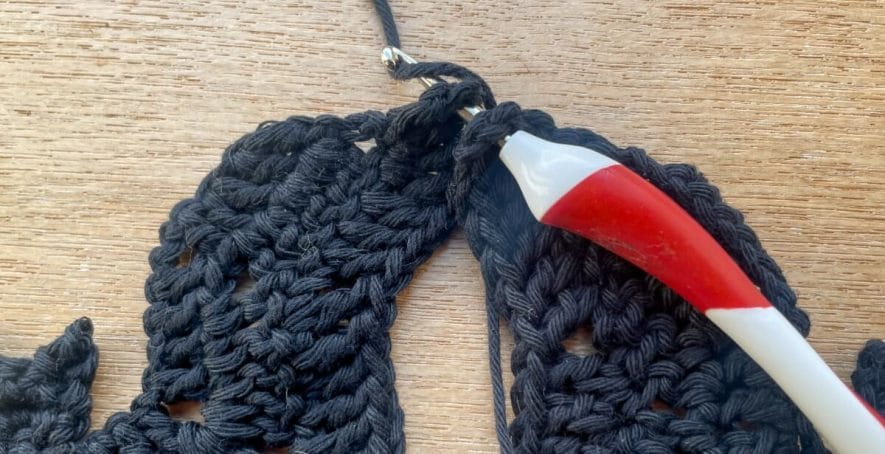
- Put 2 bats side by side, so the edges touch. Put your hook through both touching edges wherever it’s easy to poke through (through the left corner of one and then the right corner of the other).
- Yarn over hook and pull a loop of yarn through both corners, then yarn over hook again and pull through the loop on your hook to secure.
- Fasten off, knot both ends & weave them in to the bat wings.
Crochet Hanging Loops at Each End
After you’ve joined all your bats together, you can add extra cord to hang your garland by chaining at each end.
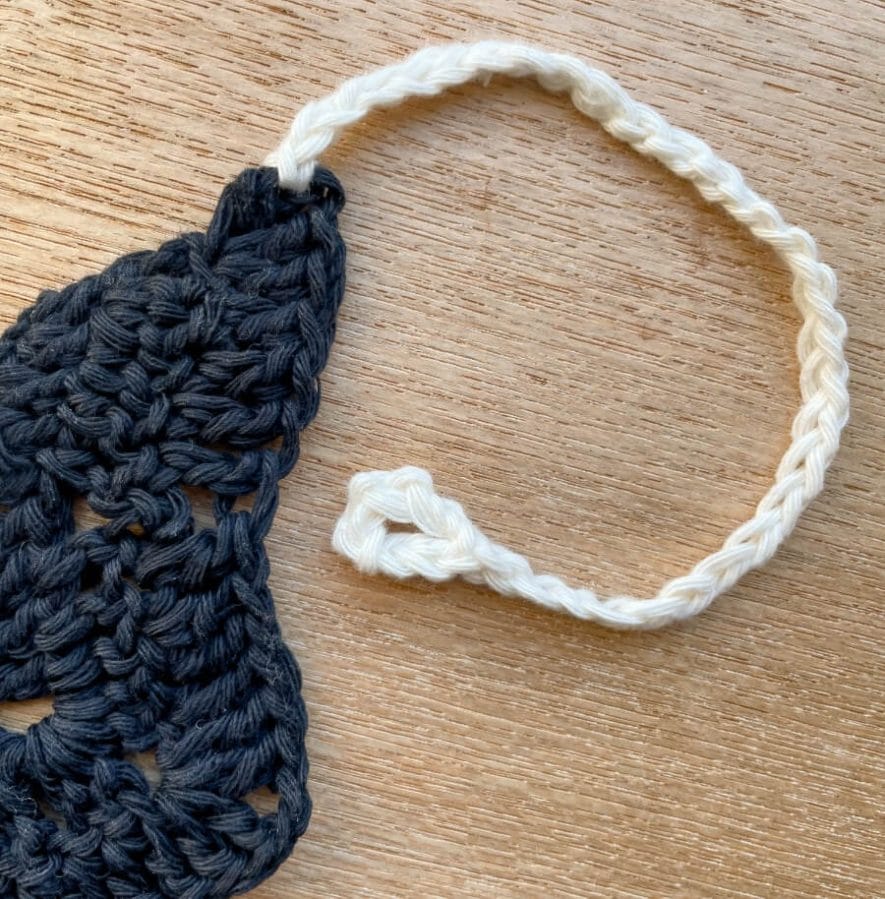
- Poke your hook through the left wing tip of your garland, yarn over hook & pull a loop through. Crochet chains until you have enough cord to hang your garland, add 6-8 extra if you want a little hanging loop at the end. I made 37 chains with worsted cream cotton.
- If you want a hanging loop, skip 6-8 chains and slip stitch in to the next chain to make a little circle.
- Fasten off & weave both ends into the chain cord.
- Repeat steps 1-3 at the right side of the garland.
I hope you have fun crocheting boo-tiful bats & find the pattern easy to follow. If you have any questions or feedback, just comment below. Be sure to check out my other free crochet Halloween decoration patterns too.
This free pattern is for personal, non-commercial use only. It may not be copied, sold, translated or distributed in any way without permission.