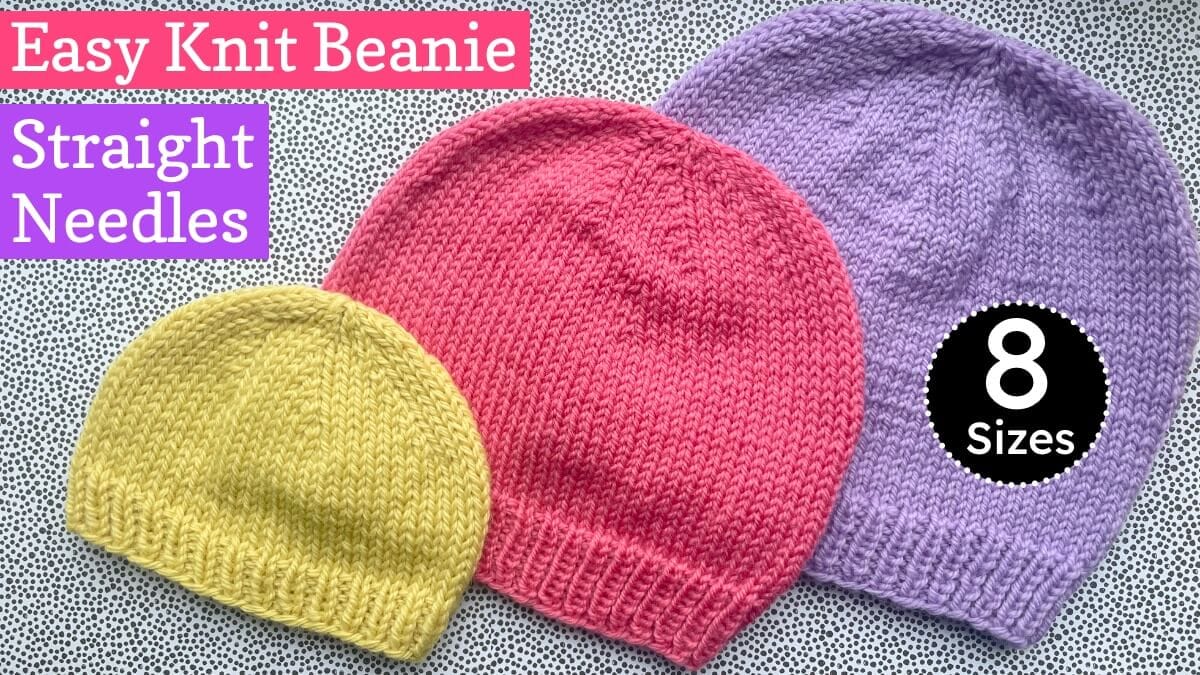
This free hat knitting pattern is quick and easy and comes in 8 sizes. So you can knit matching hats for all the family!
It’s knit as a flat piece with straight knitting needles, and then seamed down the back to make a hat.
Just need the adult size? Check out the original one size hat pattern instead which is easier to follow without all the extra size instructions.
A nice practical project for beginner knitters who have got the hang of knit and purl stitches, this hat pattern is mainly just basic stockinette stitch. There’s some rib stitch at the start for a good fit & simple k2tog decreases to shape the crown.
Want to knit a hat in the round that you can try on as you knit it with no fiddly seaming at the end? Try the circular needle version of this easy beanie pattern. Scared of circulars? See how easy it is with my circular knitting video tutorials.
Table of Contents
What You Need
- 45m (newborn) – 150m (XL fitted) or 170m (XL slouch) approx of worsted or aran weight yarn
(1 small 50g ball of baby sizes, or 2 for child-adult) - 5mm (us size 8) knitting needles. If your yarn recommends a different size knitting needle, you can use that instead.
- Tapestry needle for seaming
Sizing & Notes
| Size Number | 1 | 2 | 3 | 4 | 5 | 6 | 7 | 8 |
|---|---|---|---|---|---|---|---|---|
| Age / Size | Newborn | 3-6 mth | 6-12 mth | Toddler | Child | Teen | Adult | XL |
| Head Circumference | 14 | 16 | 18 | 19 | 20 | 21 | 22 | 24 |
| Hat width inches | 6.25 | 7 | 7.75 | 8.25 | 8.75 | 9.25 | 10 | 11 |
| Fitted Height inches | 5 | 6 | 7 | 7.5 | 8 | 8.5 | 9 | 9.5 |
| Slouch Height inches | 5.75 | 6.75 | 8 | 8.5 | 9 | 9.5 | 10.5 | 11 |
- Standard aran gauge of 18 stitches and 24 rounds to 4 inches (10 cm) is suggested. But exact gauge is not important (especially vertical row gauge) as the hat is quite stretchy. The hat is your swatch, there’s no need for test squares!
- The pattern includes options for a fitted (A), slouchy (B) and cuffed beanie (C) (where you turn the ribbing up).
Yarns I Used
Here are the yarn amounts & finished sizes (post wash) for the sample hats shown as a guide. It’s fine for your measurements to vary a bit depending on your yarn choice and gauge:
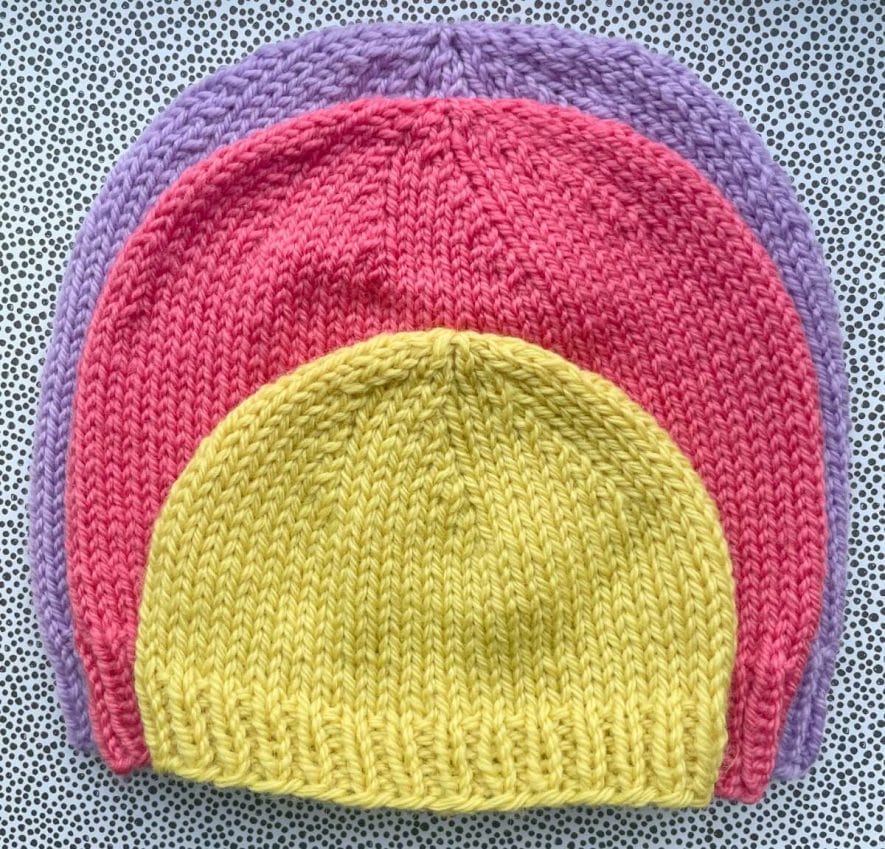
- Newborn hat (size 1): 45m/49yds Drops Nepal aran/heavy worsted yarn in shade dandelion (yellow), measures 6.5 inches wide by 5 inches tall.
- Child hat (size 5): 93m/102yds Rico Essentials Soft Merino Aran (lighter aran) in shade azalea (pink) measures .
- Adult hat (size 7): 120m/131yds of Rico Design essentials soft merino yarn (lighter aran) in shade 71 violet (pale purple) measures 9.75 inches wide by 9 inches tall.
New for 2025: Check out my free ribbed hat pattern in DK yarn for another easy knit hat project
Abbreviations
- k2tog: knit 2 stitches together (decrease 1 stitch)
- kx: knit next x stitches
- px: purl next x stitches
- () x n times: repeat the instructions inside () n times
- [1,2,3,4] [5,6] [7,8]: instructions for each size with baby, youth & adult sizes grouped in [] for clarity.
NB [-] means instruction does not apply for that size.
Easy Beanie Hat Knitting Pattern for Straight Needles

Cast On
Cast on [58 newborn, 66 3-6 mths, 74 6-12 mths, 78 toddler] [82 child, 86 teen] [90 adult, 98 XL] stitches.
I used the long tail cast on (tutorial here), which is quite stretchy and works well for rib, but you can use whichever cast on you like best.
Knit Brim in Rib Stitch
Row 1: Knit 1 stitch, purl 1 stitch and repeat this pattern to the end of the row to do k1p1 ribbing.
Note: with the long tail cast on, row 1 is the wrong side of your knitting. If you use a different cast on where row 1 is the right side, knit an even number of rib rows instead of odd, so that you knit the last rib row on the wrong side.
Knit [5,5,7,7] of rib for baby sizes or 9 rows for child size or larger, or your desired ribbing height (any odd number of rows).
Folded cuff beanie (Option C) only: do [7,7,10,10] rows of rib for baby sizes or 13-17 rib rows for larger sizes for a deeper brim.
Finish your ribbing after a wrong side row.
Knit Stockinette until Desired Height
Once you are happy with the height of your ribbing, switch to knitting stockinette stitch as follows:
Next row and every right side row: knit every stitch
Wrong side rows: purl every stitch
Fitted beanie (option A): knit until your piece is [3, 4, 3.75, 5] [5, 6.25] [6, 6.75] inches including rib.
Slouchy beanie (option B): knit until your piece is [3.75, 4.75, 4.75, 6] [6, 7.75] [7.5, 8.25] inches including rib, or longer for more slouch.
Cuffed beanie (option C): knit [3, 4, 3.75, 5] [5, 6.25] [6, 6.75] inches of stockinette for a fitted hat or [3.75, 4.75, 4.75, 6] [6, 7.75] [7.5, 8.25] inches for a slouchy hat (or longer for extra slouch).
End with a wrong side row.
1st Decreases: Size 6-12 months Upwards Only
K2, (K2tog, K[-,-,16,17] [18,19] [20,21]) x 4 times to decrease 4 stitches evenly around – [58,66,70,74] [78,82] [86,94] stitches
Do 3 rows of stockinette as follows: purl 1 row, knit 1 row, purl 1 row.
2nd Decreases: Sizes 6-12 mths, Child, Adult & XL Only
K2, (K2tog, K[-,-,15,-],[17,-],[19,20]) x 4 times to decrease another 4 stitches – [58,66,66,74] [74,82] [82,90] stitches
Do 3 more rows of stockinette as per 1st decreases.
Main Crown Decreases: All Sizes

K2, (K2tog, K6) x [7,8,8,9] [9,10] [10,11] times to decrease [7,8,8,9] [9,10] [10,11] stitches evenly around – [51,58,58,65] [65,72] [72,79] stitches
Purl 1 row
K2, (K2tog, K5) x [7,8,8,9] [9,10] [10,11] times – [44,50,50,56] [56,62] [62,68] stitches
Purl 1 row
K2, (K2tog, K4) x [7,8,8,9] [9,10] [10,11] times- [37,42,42,47] [47,52] [52,57] stitches
Purl 1 row
K2, (K2tog, K3) x [7,8,8,9] [9,10] [10,11] times – [30,34,34,38] [38,42] [42,46] stitches
Purl 1 row
K2, (K2tog, K2) x [7,8,8,9] [9,10] [10,11] times – [23,26,26,29] [29,32] [32,35] stitches
Purl 1 row
K2, (K2tog, K1) x [7,8,8,9] [9,10] [10,11] times – [16,18,18,20] [20,22] [22,24] stitches
Purl 1 row
K2tog x [8,9,9,10] [10,11] [11,12] times – [8,9,9,10] [10,11] [11,12] stitches left.
Seam the Back of your Hat
Leaving a long tail for seaming, cut the yarn. Thread it through the remaining stitches twice & gather to form the top point of the hat. See video tutorial here.
Next, working from the top point down, you need to join the left and right edges of your flat knitted piece together to turn it into a hat with a seam down the back. Use mattress stitch to make an invisible seam for a neat finish. Watch the 15 minute video below to see how to do this step by step:
How to Seam a Hat with Mattress Stitch

This 15 minute video explains exactly how to seam the hat in detail, but here’s a brief summary if you prefer:
To do mattress stitch, you work a stitch in from each side. It can be tricky to work out exactly where to put your needle with standard stockinette stitch.
Starting from the top point of your hat, stretch the left edge of your knitting and you will see a ladder of horizontal bars between your edge stitch column and your first stockinette stitch column.
Put your needle under the first 2 of these bars between the edge stitch and the next stitch column.
Now repeat on the right side. Stretch the right edge to see the horizontal bars between the edge stitch and stockinette stitch, put your needle under the first 2 bars, and loosely pull through.
Don’t tighten up the seam yet. Now go back to the left side, and put your needle through the next 2 horizontal bars. Pull through loosely and repeat on the right side.
Keep going and after a few more stitches, pull your seam tight. It should disappear like magic!
Continue mattress stitching, pulling your seam tight after every 4-5 stitches. Take a moment to check your seam at these points, stretching it to adjust if needed. Also make sure that you have an even amount left on both sides.
How to Seam the Bottom Ribbing
I’ve a full step by step guide to mattress stitching rib here, because it’s quite different to stockinette. Or watch the final part of the main hat seaming video (10:49 onwards).
Important: for a folded cuff beanie (Option C only): mattress stitch the ribbing working from the inside (wrong side), so that the seam will be hidden on the inside when you turn up the ribbed cuff.
Once you reach the bottom of your hat, weave in the cast on and cast off tails into the rib stitches (video tutorial available) at the bottom to finish.

I hope you enjoy making this easy knit beanie hat. It’s a nice beginner friendly knitting project to make something practical you can wear everyday or give as a special gift. Got any questions or feedback on this pattern? Just leave a comment below.
This free pattern is for personal, non-commercial use only. It may not be copied, sold, translated or distributed in any way, nor any finished items made using it sold, without permission.

After the first decrease row, shouldn’t the 3 stockinette rows be Purl, Knit Purl? Because the decrease row is a knit row? Thanks!
Yes! So sorry for this mistake Susan. I updated the pattern recently (for a simpler, softer seam) and I think this error crept in then. Thanks so much for spotting this, Janine.
can I use straight needles instead of DPN’s?
Yes Jacqueline – this hat pattern is for straight knitting needles. DPNs should not be mentioned anywhere so let me know if there’s a mistake somewhere thanks!
using med #4 simply soft yarn and 5 mm straight needles, ended up far too large to fit women,s size beanie, and the ribbing was so loose, using the same size needles as body of beanie, going to start all over, using needles 4 and 4.5, hoping this will work better for sizing, and would like to change the ribbing to k2, p2, hoping that will work for better fit,
Hi Cheryl, sorry to hear the pattern did not work out for you. To save you time & hassle, I’d suggest trying a different pattern instead, because I don’t think the changes you’re making will make a big difference.
Do you knit loosely? Have you used Simply Soft yarn before and got the recommended 18×24 gauge doing a test swatch or another project etc?
Hi, I’ve signed up and confirmed my email address, but I still can’t download this pdf. I always get the sign up prompt when I click on the printable pdf link. Thanks for your help!
Thanks for signing up Laura & sorry for any hassle. I’ve emailed you the PDF patterns now so you can get started. Happy Knitting 🙂
Same with me. I checked my spam…..
Sorry about that Nancy. Yikes usually the spam folder explains it so hopefully it was just a blip. I’ve emailed you the PDF patterns now.
I’m a beginner knitter. can you please explain the “x 10” in the decrease rows? is this 10 rows? ty!
Hi Laurie,
Sorry for the confusion. It’s just 1 row. The x 10, means repeat by 10. So for example for the first main decrease row, you knit 2 stitches to start, and then you keep knitting the next 2 stitches together followed by knitting 6 stitches until the end of the row. You need to repeat that (k2tog, k6) instruction 10 times to reach the end of the row, which decreases by 10 stitches. Hope this helps & I’ll add a note explaining this to the abbreviation list.
Hi, I’ve tried to download the pdf of the pattern, but after I verify my email address I still can’t download it? I want to be able to.e to carry it with me where I won’t have internet.
Sorry for any hassle Geoff. It looks like you got the pattern in the meantime, but I’ve emailed you the PDF link now to be sure.
Hi Janine, this is my first attempt at knitting a pattern. Just wondered about the sizing. My head circumference is 23 in so is it best to do size 7 or 8 as I’m right in the middle.
Hi John, Welcome to the world of knitting! 🙂 I’d go with the largest XL size. The finished size depends on a number of factors including your yarn and whether you knit tight or loose, but hats are forgiving so it’s not make or break, but better to go too big than too small unless you prefer a really snug fit.
If you knit the hat with a circular needle (still back and forth in rows, I don’t mean switching to the knitting it in the round version at https://www.craftfix.com/circular-knit-hat-pattern/), it’s easier to wrap it around your head after a couple of inches and judge the fit before you go too far.
But if you only have traditional straight knitting needles, just stick with those especially if you’re new to knitting and like them.
If you’re curious about how to knit back and forth (straight patterns) with a circular, I’ve a video tutorial here https://www.craftfix.com/knit-flat-with-circular-needles/
Hope this helps & happy knitting 🙂 Janine.
did one in just over three hours, it worked out well although a little big for a child…. but maybe that’s the wool I used.
Wow that’s quick work Anja! Many thanks for the sizing feedback. Did you make size 5 (child)? What yarn did you use? Thanks, Janine.
can you explain the two decrease instructions you have, please? is the first decrease only for the smallest size or all sizes? Thank you.
Hi Karen, the 1st decreases are for all sizes except newborn and 3 months, because those hats are so small you skip to the main decreases section. So knit the first decreases for sizes 3-8 (6-12 months to XL) only.
The idea of the 2nd decreases is to end up with the right stitch count to work with the main decreases section so that’s why it’s only for certain sizes. You knit the 2nd decreases for sizes 3,5,7 & 8 (6-12 months, child, adult and XL), and skip this section for a newborn, 3 month old, toddler or teen hat.
In the decrease instructions, you will see a dash/hyphen for sizes where that section is skipped instead of the number of stitches to knit – the dash indicates the instruction is not relevant for that size. Hope this helps, Janine.