
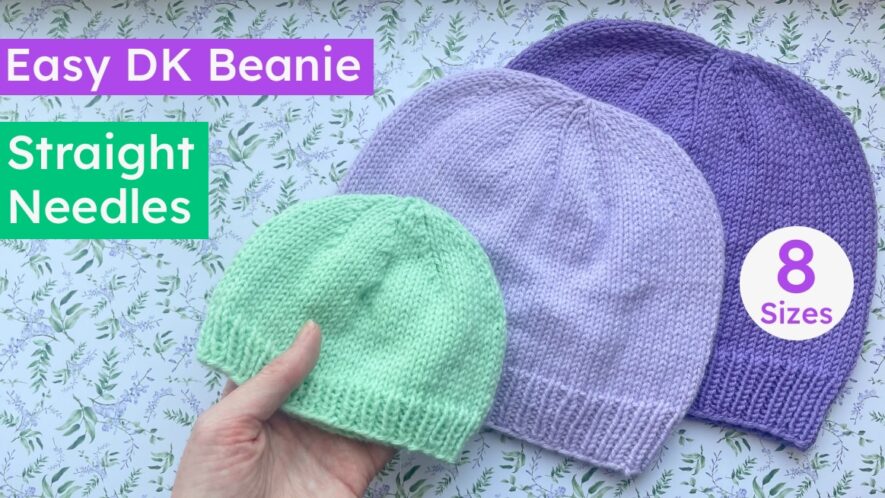
This free hat knitting pattern for DK yarn (aka light weight or 8 ply) is easy to knit & comes in 8 sizes – from baby to adults. So you can knit matching hats for all the family!
It’s knit as a flat piece with straight knitting needles, and then seamed down the back to make a hat.
A nice practical project for beginner knitters who have got the hang of knit and purl stitches, this hat pattern is mainly just basic stockinette stitch. There’s some rib stitch at the start for a good fit & simple k2tog decreases to shape the crown.
This hat pattern is also available for:
- a circular knitting needle, knit in the round so you can try it on as you knit with no fiddly seaming at the end. Scared of circulars? See how easy it is with my circular knitting video tutorials.
- worsted/aran weight yarn with 5mm needles, which is a bit quicker to knit & a slightly thicker hat.
Table of Contents
What You Need
- DK / 8 ply / light weight yarn: 1 small 50g ball for baby & child sizes & 2 balls for a teen, adult or XL size hat.
Sample yarn amounts: 53m (newborn fitted), 105m (child fitted), 135m (adult fitted) - 4mm (us size 6) knitting needles.
- Tapestry needle for seaming
Sizing & Notes
- Standard DK gauge of 22 stitches and 28 rounds to 4 inches (10 cm) is used. But exact gauge is not vital as the hat is quite stretchy. The hat is your swatch, there’s no need for test squares!
- The pattern includes options for a fitted (A), slouchy (B) and cuffed beanie (C) (where you turn the ribbing up).
| Size Number | 1 | 2 | 3 | 4 | 5 | 6 | 7 | 8 |
|---|---|---|---|---|---|---|---|---|
| Age / Size | Newborn | 3-6 mth | 6-12 mth | Toddler | Child | Teen | Adult | XL |
| Head Circumference | 14 | 16 | 18 | 19 | 20 | 21 | 22 | 24 |
| Hat width inches | 6.25 | 7 | 7.75 | 8.25 | 8.75 | 9.25 | 10 | 11 |
| Fitted Height inches | 5 | 6 | 7 | 7.5 | 8 | 8.5 | 9 | 9.5 |
| Slouch Height inches | 5.75 | 6.75 | 8 | 8.5 | 9 | 9.5 | 10.5 | 11 |
Yarns I Used
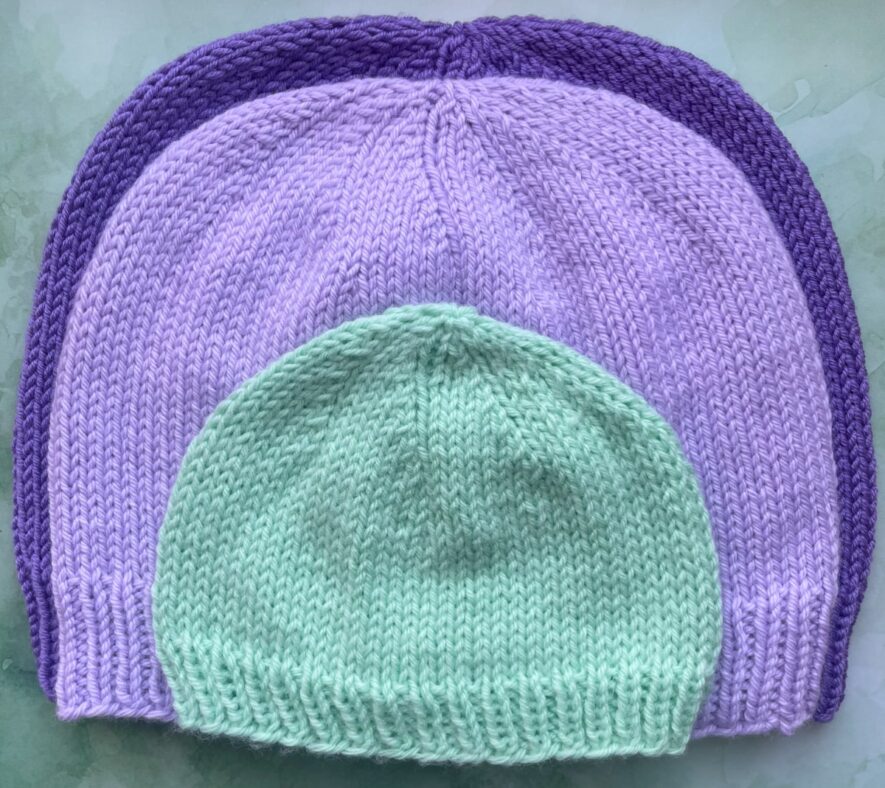
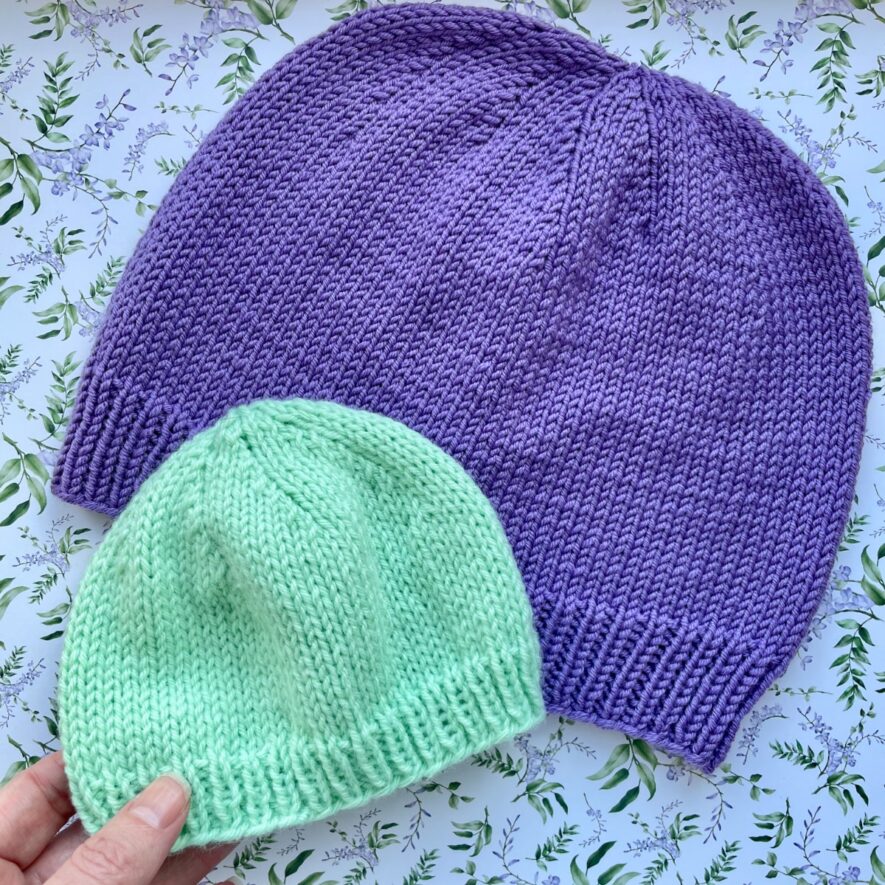
Here are the yarn amounts & finished sizes (post wash) for the sample hats shown as a guide. It’s fine for your measurements to vary a bit depending on your yarn choice and gauge:
- Newborn fitted hat (size 1) – width: 6.25 inches, height: 5 inches,
53m (a third of a ball) Sirdar Snuggly DK, a light acrylic yarn in shade 525 meadow (pale minty green). - Child fitted hat (size 5)- width: 8.75 inches, height: 7.75 inches,
105m (most of a ball) Drops Daisy DK, heavier DK wool in shade 7 sweet orchid (pale purple). - Adult fitted hat (size 7) – width: 10 inches, height: 8.5 inches,
135m (slightly over a ball) Sesia Nordica DK merino wool in shade 5908 violet (purple).
It’s OK for your measurements to vary a little depending on your yarn choice and gauge – my sample hats are slightly shorter than the suggested heights in the main size chart at the top of the pattern for example.
Abbreviations
- k2tog: knit 2 stitches together (decrease 1 stitch)
- kx: knit next x stitches
- px: purl next x stitches
- () x n times: repeat the instructions inside () n times
- [1,2,3,4] [5,6] [7,8]: instructions for each size with baby, youth & adult sizes grouped in [] for clarity.
Easy DK Beanie Hat Pattern for Straight Needles
Cast On
Cast on [70 newborn, 80 3-6 mths, 90 6-12 mths, 94 toddler] [98 child, 104 teen] [110 adult, 122 XL] stitches.
I used the long tail cast on (tutorial + video here), which is quite stretchy and works well for rib, but you can use whichever cast on you like best.
Knit Brim in Rib Stitch
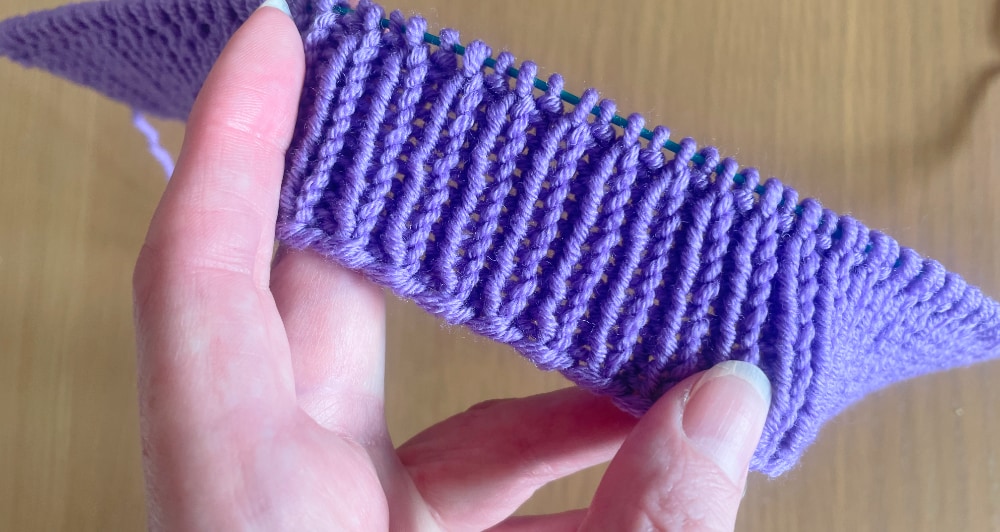
Row 1: Knit 1 stitch, purl 1 stitch and repeat this pattern to the end of the row to do k1p1 ribbing.
Note: with the long tail cast on, row 1 is the wrong side of your knitting. If you use a different cast on where row 1 is the right side, knit 1 less row of rib (or any even number of rib rows), so that you knit the last rib row on the wrong side.
Knit 7 rows of rib for newborn & 3-6 mths, 9 rows for 6-12 mths & toddler or 11 rows for child to XL sizes, or your desired ribbing height.
Folded cuff beanie (Option C) only: do 9 rows of rib for newborn & 3-6 mths, 13 rows for 6-12 mths & toddler or 17-21 rib rows for child to XL sizes for a deeper brim.
Finish your ribbing after a wrong side row.
Picture above shows adult size hat after the full 11 rows of rib stitch.
Knit Stockinette until Desired Height
Once you are happy with the height of your ribbing, switch to knitting stockinette stitch as follows:
Next row and every right side row: knit every stitch
Wrong side rows: purl every stitch
Fitted beanie (option A): knit until your piece is [2.5, 3.5, 4.5, 5] [5.5, 6] [6, 6.5] inches including rib.
Slouchy beanie (option B): knit until your piece is [3.25, 4.25, 5.5, 6] [6.5, 7] [7.5, 8] inches including rib, or longer for more slouch.
Cuffed beanie (option C): knit [2.5, 3.5, 4.5, 5] [5.5, 6] [6, 6.5] inches of stockinette for a fitted hat or [3.25, 4.25, 5.5, 6] [6.5, 7] [7.5, 8] inches for a slouchy hat (or longer for extra slouch).
End with a wrong side row.
NB if your vertical gauge is 30 rows rather than 28 (common enough for DK yarns), knit .25 inch longer than the length listed above (or just knit 2 more rows after reaching the length above).
1st Decreases: All Sizes
Baby: K2, (K2tog, K15) x 4 times to decrease 4 stitches (66 stitches)
3-6 Months: K2, (K2tog, K11) x 6 times to decrease 6 stitches (74 stitches)
6-12 Months: K2, (K2tog, K11) x 8 times to decrease 8 stitches (82 stitches)
Toddler: K2, (K2tog, K21) x 4 times to decrease 4 stitches (90 stitches)
Child: K2, (K2tog, K10) x 8 times to decrease 8 stitches (90 stitches)
Teen: K2, (K2tog, K15) x 6 times to decrease 6 stitches (98 stitches)
Adult: K2, (K2tog, K16) x 6 times to decrease 6 stitches (104 stitches)
XL: K2, (K2tog, K13) x 8 times to decrease 8 stitches (114 stitches)
All Sizes: Do 3 rows of stockinette as follows: purl 1 row, knit 1 row, purl 1 row.
2nd Decreases: Adult & XL Sizes Only
Adult: K2, (K2tog, K15) x 6 times to decrease another 6 stitches (98 stitches)
XL: K2, (K2tog, K12) x 8 times to decrease another 8 stitches (106 stitches)
Both Sizes: Do 3 more rows of stockinette as per 1st decreases.
Main Crown Decreases: All Sizes
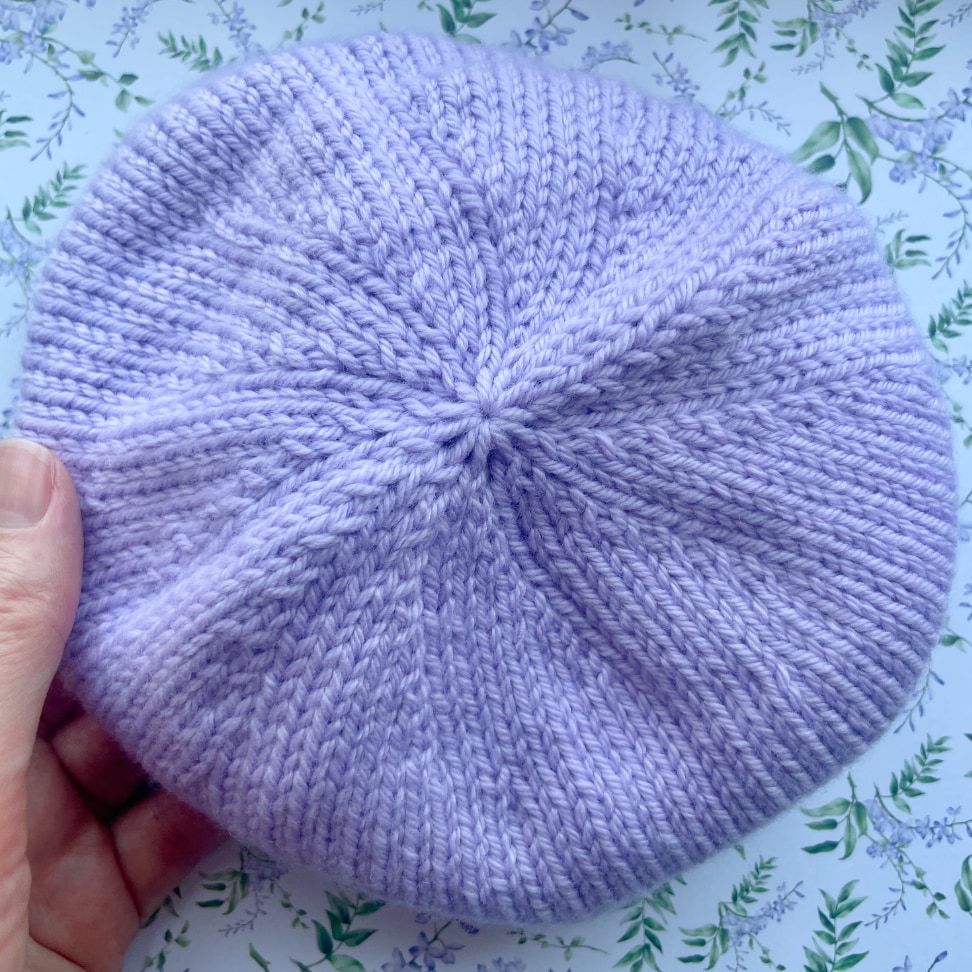
K2, (K2tog, K6) x [8,9,10,11] [11,12] [12,13] times to decrease [8,9,10,11] [11,12] [12,13] stitches evenly around – [58,65,72,79] [79,86] [86,93] stitches
Purl 1 row
K2, (K2tog, K5) x [8,9,10,11] [11,12] [12,13] times – [50,56,62,68] [68,74] [74,80] stitches
Purl 1 row
K2, (K2tog, K4) x [8,9,10,11] [11,12] [12,13] times – [42,47,52,57] [57,62] [62,67] stitches
Purl 1 row
K2, (K2tog, K3) x [8,9,10,11] [11,12] [12,13] times – [34,38,42,46] [46,50] [50,54] stitches
Purl 1 row
K2, (K2tog, K2) x [8,9,10,11] [11,12] [12,13] times – [26,29,31,35] [35,38] [38,41] stitches
Purl 1 row
K2, (K2tog, K1) x [8,9,10,11] [11,12] [12,13] times – [18,20,22,24] [24,26] [26,28] stitches
Purl 1 row
K2tog x [8,9,10,11] [11,12] [12,13] times – [9,10,11,12] [12,13] [13,14] stitches left.
Seam the Back of your Hat
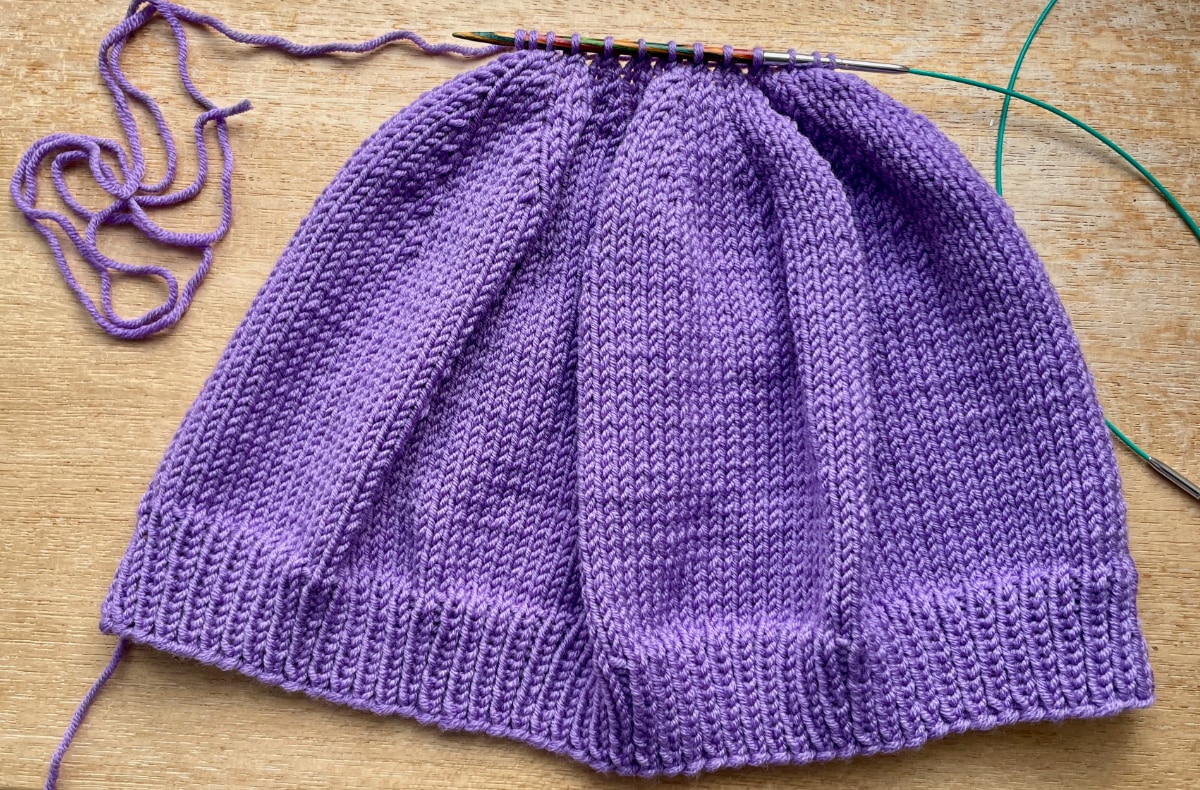
The pic above shows the adult size hat after knitting the last row with 13 stitches left & a long tail after cutting the yarn.
Leaving a long tail for seaming, cut the yarn. Thread it through the remaining stitches twice & gather to form the top point of the hat. See video tutorial here.
Next, working from the top point down, you need to join the left and right edges of your flat knitted piece together to turn it into a hat with a seam down the back. Use mattress stitch to make an invisible seam for a neat finish. Watch the 15 minute video below to see how to do this step by step:
How to Seam a Hat with Mattress Stitch

This 15 minute video explains exactly how to seam the hat in detail, but here’s a brief summary if you prefer:
To do mattress stitch, you work a stitch in from each side. It can be tricky to work out exactly where to put your needle with standard stockinette stitch.
Starting from the top point of your hat, stretch the left edge of your knitting and you will see a ladder of horizontal bars between your edge stitch column and your first stockinette stitch column.
Put your needle under the first 2 of these bars between the edge stitch and the next stitch column.
Now repeat on the right side. Stretch the right edge to see the horizontal bars between the edge stitch and stockinette stitch, put your needle under the first 2 bars, and loosely pull through.
Don’t tighten up the seam yet. Now go back to the left side, and put your needle through the next 2 horizontal bars. Pull through loosely and repeat on the right side.
Keep going and after a few more stitches, pull your seam tight. It should disappear like magic!
Continue mattress stitching, pulling your seam tight after every 4-5 stitches. Take a moment to check your seam at these points, stretching it to adjust if needed. Also make sure that you have an even amount left on both sides.
How to Seam the Bottom Ribbing
I’ve a full step by step guide to mattress stitching rib here, because it’s quite different to stockinette. Or watch the final part of the main hat seaming video (10:49 onwards).
Important: for a folded cuff beanie (Option C only): mattress stitch the ribbing working from the inside (wrong side), so that the seam will be hidden on the inside when you turn up the ribbed cuff.
Once you reach the bottom of your hat, weave in the cast on and cast off tails into the rib stitches (video tutorial available) at the bottom to finish.
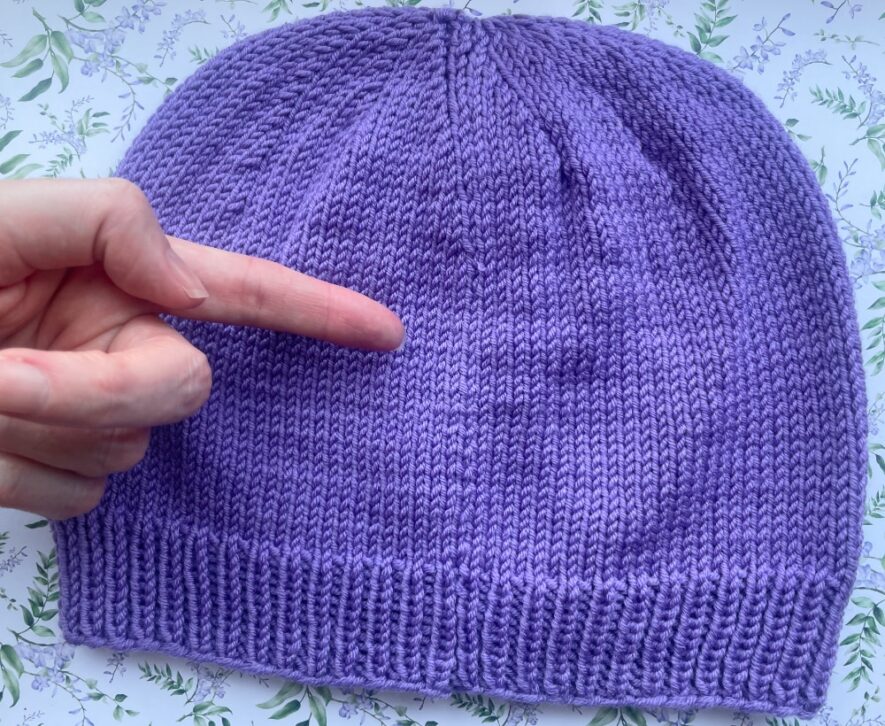
I hope you enjoy making this easy knit beanie hat. It’s a nice beginner friendly knitting project to make something practical you can wear everyday or give as a special gift. Got any questions or feedback on this pattern? Just leave a comment below.
This free pattern is for personal, non-commercial use only. It may not be copied, sold, translated or distributed in any way, nor any finished items made using it sold, without permission.